
A practical GRAVHOUNDS Juggernaut guide: arena preparation, phase behavior, turret placement, team roles and the mistakes that wipe the base.
GRAVHOUNDS Boss Guide: How to Beat the Juggernaut
The Juggernaut is the fight that turns a good GRAVHOUNDS run into a story. It is a boss-level swarm unit: enormous, heavily armored, and accompanied by the same escalating trash that has been pressuring your base all run. It does not have a puzzle mechanic. It has a health bar, a commit window and a habit of walking through whatever you built.
That makes it a preparation fight. Almost every Juggernaut loss is decided before the boss arrives, in the thirty seconds you spent choosing an arena.
Official source: GRAVHOUNDS on Steam ↗ — the launch build includes boss-level swarm encounters alongside the standard escalation.
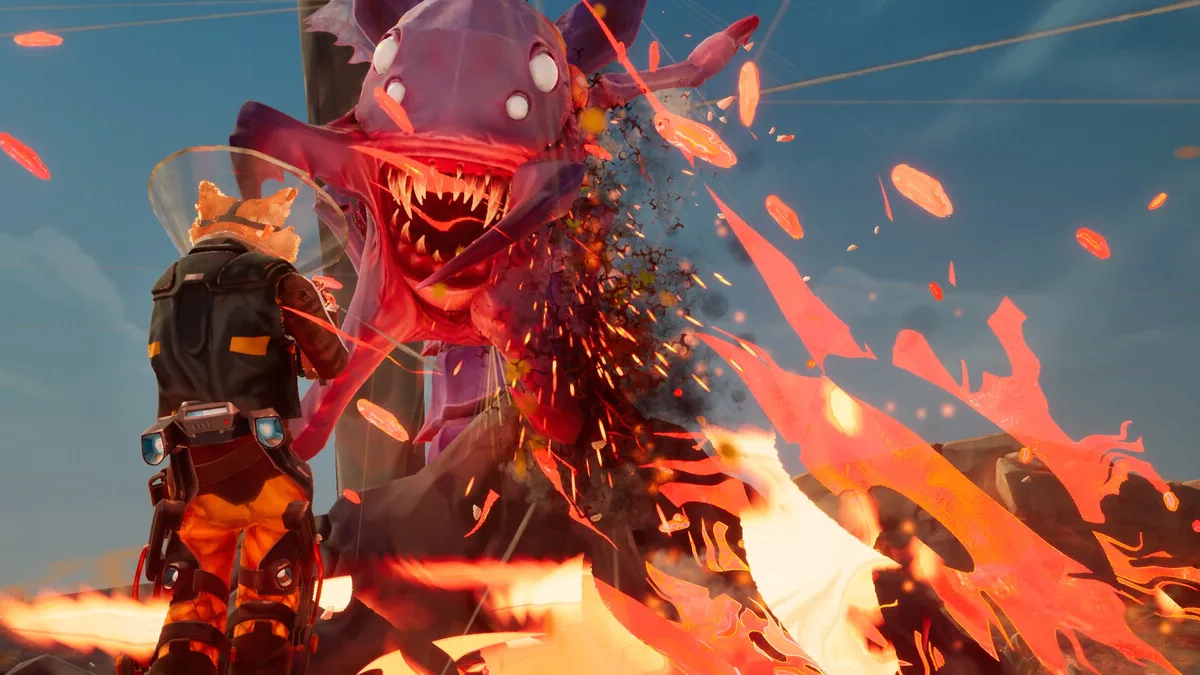
Before the fight
Pick an arena with space
The Juggernaut punishes players who fight in corridors. You need lateral room to strafe and a fallback line that is not your own wall.
Good arenas:
- An open plateau with one approach.
- A wide canyon mouth with high ground on both sides.
- A clearing bordered by terrain you cannot build on, so the fight cannot spill sideways.
Bad arenas:
- Caves. The ceiling removes your vertical options and the walls remove your strafe.
- Your own kill box. The base is built to funnel trash, not to dodge a boss.
- Anywhere within thirty meters of the collector. If the fight reaches the collector, you have already lost the run.
Clear the trash first
The Juggernaut does not arrive alone. Clear the current wave before you engage, or you will be fighting the boss with a swarm on your back and no room to move.
Pre-build, do not build during
Set turrets, generators and one exit pipe before the boss spawns. Building during the fight is how players die with a turret in their hands.
Turret placement for the fight
The rule is the opposite of a normal wave: turrets outside the arena, not inside it.
- Place turrets on the rim, where the boss cannot step on them.
- Overlap their fire on the approach lane, not on the center.
- Keep one turret covering the exit pipe, so a retreat is not a blind run.
- Do not build walls. The Juggernaut walks through them, and they block your strafe.
A four-turret rim with overlapping arcs does more damage over a two-minute fight than eight turrets scattered inside the arena, because the rim turrets never stop firing.
The phases
Phase 1: the approach
The Juggernaut closes distance while the trash screens it. Your job is not to damage the boss yet. It is to:
- Clear the trash so it cannot body-block your retreat.
- Keep the boss in the open, away from the collector.
- Establish the strafe direction you will use for the rest of the fight.
Use the Grav Beam to pull trash out of your path, not to damage the boss. A thrown enemy is one less body between you and a clean dodge.
Phase 2: the commit
When the Juggernaut commits to an attack, it commits hard. The tell is a wind-up and a change in its facing. This is the window where positioning decides the fight:
- Strafe, do not backpedal. Backpedaling keeps you in the cone.
- Dash laterally through the edge of the attack, not away from it.
- Do not dash into the trash. The swarm is the real damage; the boss is the threat.
Finn's Play Dead is the best answer to a missed dodge: it absorbs the hit window and releases a slow bubble that gives your turrets free damage. Zane's Bark can push adds out of the strafe lane.
Phase 3: the punish
After the commit, the Juggernaut has a recovery window. This is where damage happens:
- Unload with your primary weapon.
- Do not chase a reposition; hold your ground and fire.
- Refresh mines or turrets only if the window is long enough.
A build that spends the punish window repositioning does no damage. The best build is designed around this: crit burst during the window, turrets covering the gap.
Phase 4: the escalation
The longer the fight goes, the more trash joins. This is the real enrage timer. If the fight passes the point where you are spending more time on trash than on the boss, disengage and reset the arena.
Disengaging is not losing. A reset fight is winnable; a fight in a cave with no exit is not.
Team roles
Solo: Finn or Zane. Keep the boss in the open, use turrets as a damage floor, and accept a longer fight.
Duo: one player holds the boss's attention, one player clears trash and refreshes turrets. Swap aggro when the holder's health drops.
Full pack: two on the boss, one on trash, one on turrets and revives. The trash player is the most important role and the one packs forget to assign.
The five mistakes
- Fighting in the kill box. The base funnels trash into you and gives the boss walls to break.
- Building during the commit. You will die with a blueprint in your hand.
- Ignoring trash. The swarm does more cumulative damage than the boss.
- Backpedaling. It keeps you in the attack cone and costs the strafe window.
- Staying for a second phase without turrets. If the rim is empty, leave.
You do not need to find a secret. You need space, turret uptime and a clean strafe. If any of the three is missing, reset the fight.
Rewards and what to do after
The Juggernaut is a progression encounter: killing it opens the planet's remaining content and feeds the milestone track. Extract after the kill rather than pushing deeper — the run has already paid out, and the swarm tier is still climbing.
If the boss dies but your collector is destroyed, the run is over. Bank what you can carry; the kill still counts for milestones.
FAQ
Where does the Juggernaut spawn? On higher-tier planets, as a boss-level swarm unit rather than a scripted arena boss.
Can I fight it solo? Yes, with Finn or Zane and a rim of turrets. Expect a long fight.
Do walls stop it? No. Walls slow it and block your own movement.
What is the best weapon for the fight? Rapid-fire for consistent crit damage; precision if you can hit the weak point during the punish window.
Should I extract after the kill? Yes. The reward is the kill and the blueprint; staying risks the backpack.
Further reading
Summary
Choose an open arena, clear trash first, put turrets on the rim, strafe the commit and punish the recovery. The enemies guide covers the trash; the base guide covers the base you should leave behind.
More GRAVHOUNDS Guides
Build a GRAVHOUNDS base that survives escalating swarms: site selection, four defensive layers, power placement and layouts for solo to four players.
A first-shift walkthrough for GRAVHOUNDS: what to mine, where to build, how pipes pay for themselves, and when to call the ship.
A complete GRAVHOUNDS build for hard planets: rapid-fire crit weapon, turret support deck, Dozer mines and the exact 10-card Mod Deck.
The best GRAVHOUNDS character for solo, duo, four-player packs and boss runs, with the reasoning and the loadout each hound enables.
How GRAVHOUNDS builds work: the 10-card Mod Deck, Showstoppers, weapon choices and the stack rules that decide whether a run snowballs.
How GRAVHOUNDS character unlocks work, why demo progress does not carry over, and the fastest progression path to the full five-hound roster.