
How GRAVHOUNDS scales for one to four players, what changes on harder planets, and the build adjustments that keep each pack size alive.
GRAVHOUNDS Difficulty Guide: Solo, Duo and Full Pack
GRAVHOUNDS has no difficulty menu. The difficulty of a run is the product of three things: the planet you pick, how long you stay, and how many players are in the lobby. That last variable is the one players misread most often, because a four-player pack is not "the same run with more guns" — it is a different economy.
This guide breaks down how each pack size actually plays, which planets punish which composition, and the build changes that make the difference between a clean extract and a wipe at the collector.
Official source: GRAVHOUNDS Early Access FAQ ↗ — the game supports solo play and online co-op for up to four.
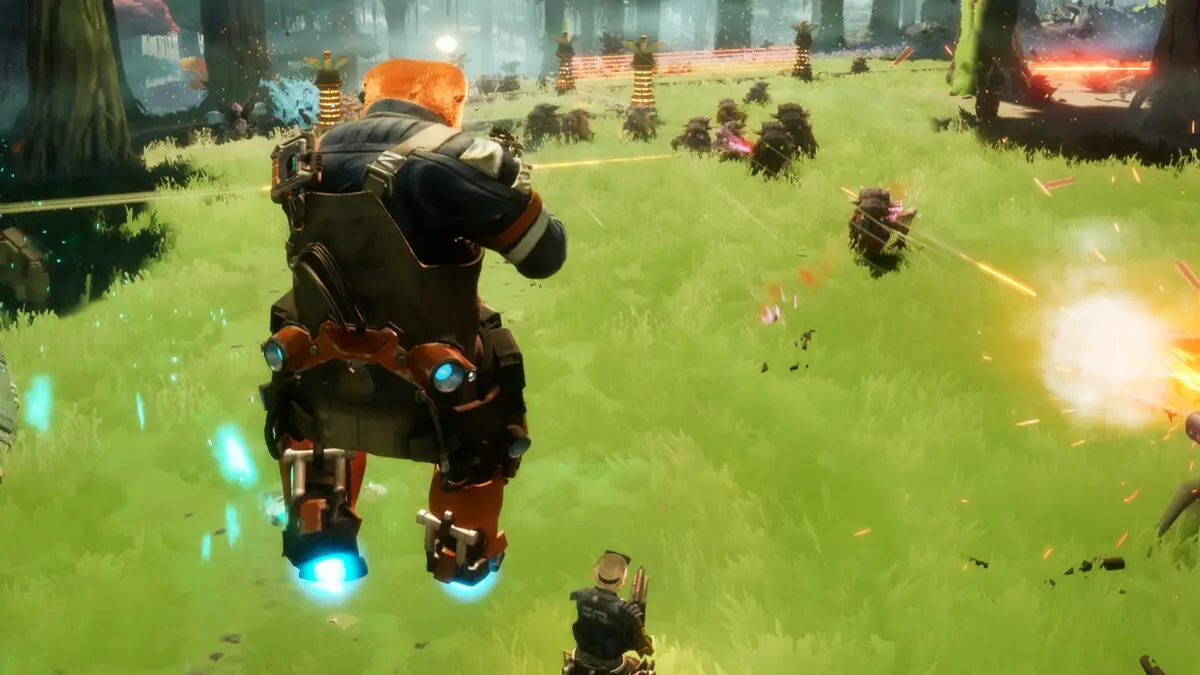
The three difficulty dials
| Dial | What it changes | How to control it |
|---|---|---|
| Planet tier | Enemy variety, swarm density, resource quality | Pick a lower-tier planet |
| Time on planet | Swarm escalation tier | Extract earlier |
| Pack size | Enemy count, revive economy, turret budget | Play with fewer or more players |
Only the third dial is fixed once the lobby forms. The first two are decisions you make every run, which is why "the game got hard" usually means "we stayed too long" rather than "the game scaled."
Solo: the discipline test
Solo is not a harder version of co-op. It is a slower, quieter game with three consequences:
- You are the only revive. There is no one to pick you up, so a down is a lost run. Health management stops being a resource and becomes the whole plan.
- You cannot cover two lanes. Every base you build must have a single approach, or you need turrets that can rotate. Pick planets with chokepoints.
- Your time budget is tighter. Mining, building and defending all compete for the same minutes. Solo players should mine the nearest nodes, not the best ones.
The solo build that works is narrow: one weapon you have upgraded, one generator, two or three turrets covering one corridor, and a short pipe to the collector. The base building guide has a solo layout that fits in a single screen.
Solo is also the best place to learn enemy tells. With no teammate chatter, you hear the audio cue for a spawn before you see it.
Duo: the efficiency sweet spot
Two players is the most forgiving ratio in the game. You get a revive, a second pair of eyes, and enough turret budget to hold a real kill box, without the enemy count scaling into a wall.
The duo split that works:
- Anchor stays near the collector, builds, repairs and calls the extract.
- Runner pushes objectives, mines the far nodes and drags resources back.
Swap roles every other run. A duo where only one player can build collapses the moment the builder goes down.
Two players also make the Grav Beam genuinely useful. Throwing resources to each other cuts travel time, and throwing a heavy enemy into a turret line is a free kill.
Three players: the coordination tax
Three is where communication starts to matter more than raw damage. The enemy count is high enough that a single uncovered lane will leak, but low enough that a good trio can hold three lanes at once.
Assign explicit lanes:
- One player owns the objective.
- One owns the collector and the power grid.
- One floats — repairs, revives, and fills whichever lane is failing.
The floater is not a luxury. In a trio, the player who "has nothing to do" is the one who should be building the next turret or topping up the generator.
Four players: the economy flip
A full pack gets more enemies, but it also gets four turret budgets, four weapons and three revives. Played well, four players is the easiest mode in the game. Played badly, it is the fastest way to lose a run, because four players generate four times the aggro and often build four disconnected bases.
Rules for a full pack:
- One base, not four. Everyone builds into the same kill box. A player who wanders off to build a private fort is donating turrets to the swarm.
- Split the resource roles. One Titanium, one Electrium, one Biomass, one blueprint hunter. Overlapping roles waste the advantage.
- Call the extract as a group. In a four-stack, one player leaving early is not a disaster; four players leaving at different times is.
- Do not all take the same character. Duplicate hounds stack strengths and leave gaps. The characters guide covers which abilities overlap.
Planet tiers and what they actually gate
Planets are not sorted by a visible number, but they fall into three practical bands:
- Green band: open terrain, one or two enemy types, generous nodes. Good for learning a new weapon.
- Amber band: verticality, hazards, shielded or ranged enemies. Requires a real kill box.
- Red band: dense swarms, elite units, the Juggernaut. Requires a finished build and a base you can leave.
You can tell the band before you drop by the Star Map's blueprint count and the planet's biome. A red-band planet with three blueprints is a multi-run commitment, not a single trip.
Every minute on a planet raises the swarm tier. Two mediocre players who leave at eight minutes will outperform two good players who stay for twenty. If you want a harder challenge, stay longer — but do not confuse that with being ready for a harder planet.
Build adjustments by pack size
| Pack | Turrets | Generators | Pipe length | Weapons |
|---|---|---|---|---|
| Solo | 2–3, one corridor | 1 | Short, escape only | 1 upgraded |
| Duo | 4–6, two corridors | 1–2 | Medium, resource + escape | 2 |
| Trio | 6–8, three corridors | 2 | Long, shared network | 2–3 |
| Full pack | 8–12, overlapping | 2–3 | Full loop | 3–4 |
The numbers are starting points, not caps. The principle is that turret count should scale with the number of approaches you are defending, not with the number of players.
When to drop a difficulty band
Move down a band when any of these happens twice in a row:
- You extract with less than half your loot.
- Your collector takes damage before the first wave ends.
- You run out of Titanium before the kill box is finished.
- A teammate is down for more than thirty seconds.
Move up when you extract clean twice with turrets still standing. That is the signal that your build, not your luck, is carrying the run.
FAQ
Does GRAVHOUNDS have a difficulty setting? No. Difficulty comes from planet choice, time on planet and pack size.
Is solo easier or harder than co-op? Harder in consequences, easier in coordination. Solo has no revive and fewer enemies.
Do enemies scale with player count? Yes. More players means more enemies, but also more turrets, weapons and revives.
Can I change the difficulty mid-run? Only by leaving. Extraction is the only difficulty reset.
What is the hardest content? Red-band planets with the Juggernaut and a late swarm tier. The boss guide covers that fight.
Further reading
Summary
Pick the planet for the run you want, leave before the timer punishes you, and build one base per pack. The progression guide explains which unlocks make higher bands survivable.
More GRAVHOUNDS Guides
Build a GRAVHOUNDS base that survives escalating swarms: site selection, four defensive layers, power placement and layouts for solo to four players.
A first-shift walkthrough for GRAVHOUNDS: what to mine, where to build, how pipes pay for themselves, and when to call the ship.
A complete GRAVHOUNDS build for hard planets: rapid-fire crit weapon, turret support deck, Dozer mines and the exact 10-card Mod Deck.
The best GRAVHOUNDS character for solo, duo, four-player packs and boss runs, with the reasoning and the loadout each hound enables.
A practical GRAVHOUNDS Juggernaut guide: arena preparation, phase behavior, turret placement, team roles and the mistakes that wipe the base.
How GRAVHOUNDS builds work: the 10-card Mod Deck, Showstoppers, weapon choices and the stack rules that decide whether a run snowballs.