
A launch-patch GRAVHOUNDS tier list for weapons, turret roles, mod families and the five Gravhounds, with the reasoning behind every rank.
GRAVHOUNDS Tier List: Weapons, Turrets and Mods Ranked
Tier lists are only useful if they explain the patch they describe. This one is for the Early Access launch build of GRAVHOUNDS — the version where Rocket Turrets were toned down, Gooper acid stopped ticking, and the Courtesy Turret became a real support piece.
Ranks are based on one question: how much does this option improve a run when you are playing well? An S-tier pick is not the flashiest; it is the one that makes the difference between extracting and dying at the collector.
Official source: GRAVHOUNDS on Steam ↗ — four weapons, 22 deployable systems and 60 mods define the launch meta.
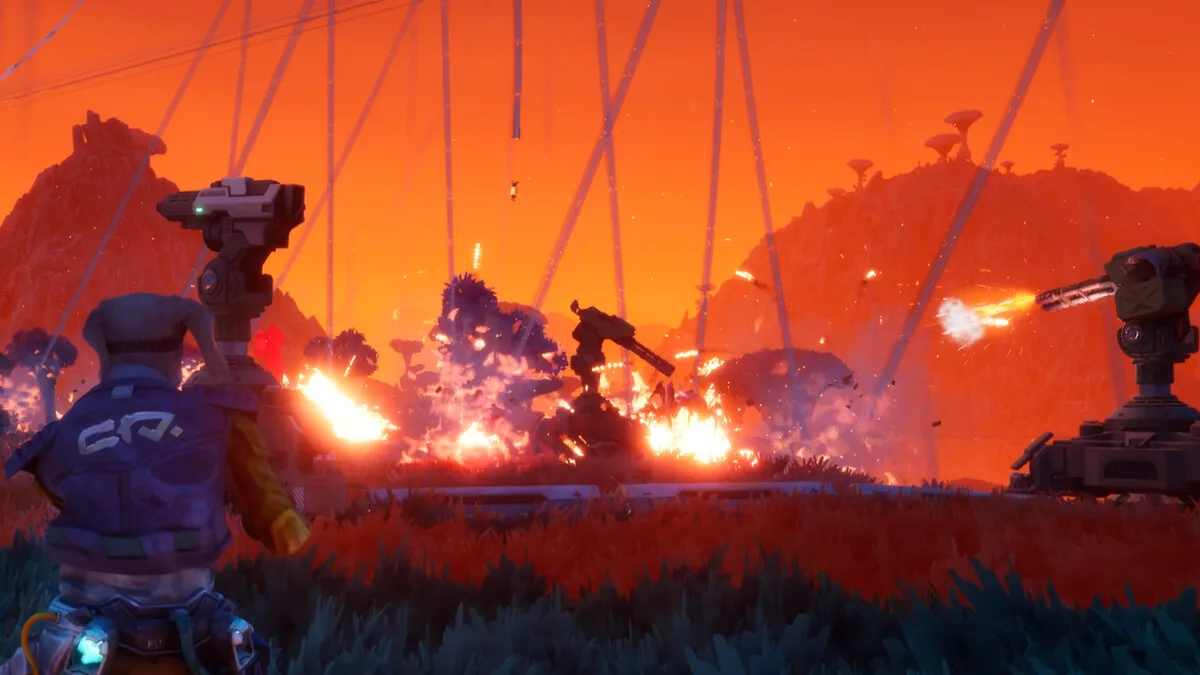
Weapons
| Tier | Weapon type | Why |
|---|---|---|
| S | Rapid-fire | Best crit frequency, forgiving, strong at every range |
| A | Precision | Highest single-target ceiling, punishes misses |
| B | Explosive | Great crowd clear, risky in a base |
| B | Support / utility | Enables turret builds, weak alone |
Rapid-fire is the launch winner because the mod pool rewards frequency. More shots means more crit rolls, more on-hit procs and more chances to trigger a stack. It is also the easiest weapon to use while backpedaling, which matters in a game where the swarm rarely comes from one direction.
Precision has a higher ceiling against the Juggernaut and shielded targets, but it demands steady aim during a wave that is actively disrupting you.
Explosive clears clumps better than anything else and self-damages in a base. Take it when you are defending an open approach, not a corridor.
Support is a build choice, not a weapon choice. It is B-tier solo and A-tier in a coordinated pack.
Turret roles
| Tier | Role | Why |
|---|---|---|
| S | Direct fire | Cheap, reliable, scales with upgrades |
| A | Area / explosive | Clears clumps, smaller blast since launch |
| A | Courtesy Turret | Free bodies, spawns higher-tier turrets when upgraded |
| B | Support / buff | Strong in a full kill box, dead weight alone |
| B | Disposable screen | Excellent value, intentionally expendable |
The launch patch moved area turrets down a notch: Rocket Turrets have a smaller blast radius and slower fire rate than in the demo. They are still the best answer to a swarm clump, but they no longer replace a direct-fire line.
The Courtesy Turret moved up. Once upgraded, it can spawn higher-tier turrets you have already unlocked, which means a cheap early slot keeps scaling into the late run.
Mod families
| Tier | Family | Why |
|---|---|---|
| S | Crit | Triggers often, stacks cleanly, scales with fire rate |
| A | Turret damage / uptime | Turns the base into a second player |
| A | Movement / dash | The best defensive stat in the game |
| B | On-kill effects | Strong in swarms, useless against bosses |
| B | Ammo / reload | Solves a real problem, does not create power |
| C | Niche elemental | Situational until enemies demand it |
Crit is S-tier because it is the only family that improves with every other investment. Fire rate makes it proc more; damage makes each proc bigger; area mods make the proc hit more targets.
Movement is the most underrated A-tier. A build that can reposition survives waves that a damage build cannot, and survival is what converts a run into progress.
The five Gravhounds
| Tier | Hound | Ability | Why |
|---|---|---|---|
| S | Finn | Play Dead | Invulnerability plus a strong heal; the best safety tool |
| A | Dozer | Bone mines | Free area damage, no mod slot required |
| A | Zane | Bark | Knockback and a panic button for solo |
| B | Selene | Not detailed pre-launch | Ranked on stats and weapon handling only |
| B | Luna | Not detailed pre-launch | New at launch; ability undisclosed |
Finn's Play Dead was reworked before launch: it now grants invulnerability and a strong heal while downed, and releases a time bubble on enemies when you get up. That combination makes it the strongest defensive ability in the game and the reason Finn is the safest pick for a hard planet.
Dozer is the best offensive support: mines add area damage without spending a card. Zane is the best solo panic button. Selene and Luna are ranked conservatively because their abilities were not published before release; if datamining or patch notes change that, this list changes with them.
The characters guide covers each hound in detail.
What is overrated
Showstoppers as a category. Twelve Showstoppers exist, and several are build-defining, but a deck that depends on drawing one is a deck that fails when the pod does not offer it. The build guide explains the deck math.
A third weapon. More weapons widen the pod pool without deepening any build. Unlock breadth in mods before breadth in weapons.
Walls. They buy seconds, not kills. Titanium spent on walls is Titanium not spent on turrets.
Late extraction. Staying for one more pod is the most common cause of a lost backpack in the game.
What is underrated
Generator efficiency. Every point of uptime multiplies the whole kill box.
The exit pipe. It produces nothing and saves everything.
The screen turret. One cheap turret forward of the base reveals the lane and buys the kill box three seconds.
Biomass. A full node is a 10 HP heal, which is the cheapest survival tool in the game.
The difference between S and A is rarely raw power. It is how often the option is useful, and how little it asks of you when the wave is already going wrong.
FAQ
Is this tier list for the demo or launch? Launch. Rocket Turrets, Gooper acid, tanky enemies and the Courtesy Turret all changed at release.
Who is the best character? Finn for survival, Dozer for damage, Zane for solo. Selene and Luna need more data.
What is the best weapon? Rapid-fire for most players, precision for boss hunters.
Are Showstoppers S-tier? Individually, some are. As a strategy, no — they are too inconsistent to build around.
How often will this change? Every balance patch. Early Access means the list is a snapshot, not a law.
Further reading
Summary
Rapid-fire crit, direct-fire turrets, Finn or Dozer, movement mods, generator efficiency. Everything else is a preference or a patch away. The best build turns this list into a deck; the upgrade path explains how to unlock it.
More GRAVHOUNDS Guides
Build a GRAVHOUNDS base that survives escalating swarms: site selection, four defensive layers, power placement and layouts for solo to four players.
A first-shift walkthrough for GRAVHOUNDS: what to mine, where to build, how pipes pay for themselves, and when to call the ship.
A complete GRAVHOUNDS build for hard planets: rapid-fire crit weapon, turret support deck, Dozer mines and the exact 10-card Mod Deck.
The best GRAVHOUNDS character for solo, duo, four-player packs and boss runs, with the reasoning and the loadout each hound enables.
A practical GRAVHOUNDS Juggernaut guide: arena preparation, phase behavior, turret placement, team roles and the mistakes that wipe the base.
How GRAVHOUNDS builds work: the 10-card Mod Deck, Showstoppers, weapon choices and the stack rules that decide whether a run snowballs.