
Three GRAVHOUNDS pipe layouts — power spine, resource trunk and extraction line — plus node placement rules that keep bases supplied under pressure.
GRAVHOUNDS Pipe Layout Guide: Power, Loot and Exit Maps
Pipes are the most underrated system in GRAVHOUNDS. Turrets get the kill feed and the Grav Beam gets the clips, but a base lives or dies on whether resources reach the right node before the wave does. The launch build lets you extend a pipeline from any node, build on every node, and grind the whole network for movement — which means pipe routing is base layout, logistics and traversal at the same time.
This guide gives you three concrete networks and the rules that make them work at any pack size.
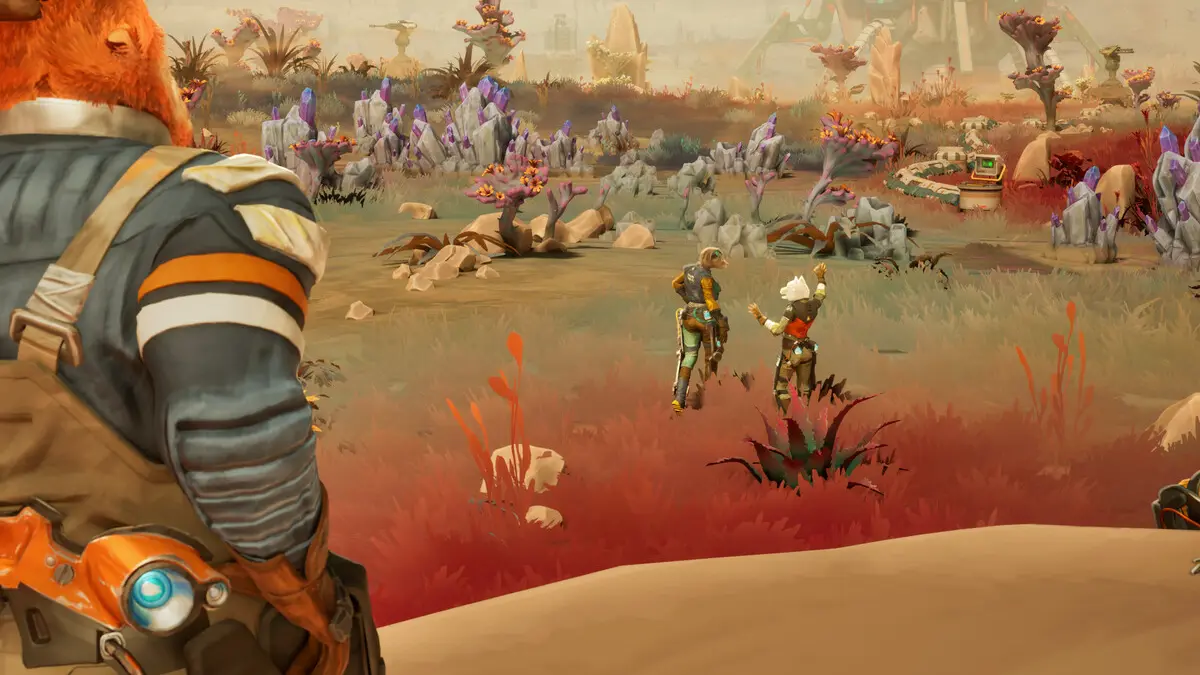
What a pipe actually does
Each pipeline segment connects two points and ends in a node. A node is three things at once:
- A delivery point. Resources thrown onto the pipe travel to the collector.
- A build platform. Turrets, generators and structures can sit on it.
- A transit line. You can grind along the pipe to move faster than sprinting.
That combination is why pipe shape matters. A pipe routed for delivery only is usually a pipe routed through your own firing line. A pipe routed for building is a chain of turret positions. A pipe routed for escape is a straight line to safety.
The best networks do all three without crossing each other.
Official source: GRAVHOUNDS on Steam ↗ — pipelines carry power, resources and traversal across the map.
Network 1: the power spine
The power spine connects your generators to the turrets that need them. It should be the shortest network in the base, and the most protected.
Shape: a single line with short spurs.
[generator A] -- [node] -- [kill box turret 1]
                    |
              [generator B]
                    |
              [kill box turret 2]
Rules:
- Two generators, two spurs. Never daisy-chain the whole grid through one generator.
- Keep the spine behind the kill box. If the swarm reaches the spine, it has already reached the base.
- Put the spine on the ground, not on a raised pipe. Elevation is for line of sight, not for power.
- Do not run the spine to the screen turrets. Screen turrets are expendable; connecting them lets a flank collapse kill the grid.
A power spine should be short enough that you can see both ends from the collector.
Network 2: the resource trunk
The resource trunk is the long network. It runs from the collector toward the resource field, and its job is to shorten the distance between a node and your inventory.
Shape: one trunk, many short branches.
[collector]
    |
 [trunk] -- [branch] -- [Titanium cluster]
    |
 [branch] -- [Electrium cluster]
    |
 [branch] -- [Biomass patch]
Rules:
- One trunk only. Two trunks double the surface the swarm can follow and split your repair attention.
- Branch to clusters, not to single nodes. A branch that serves one rock is wasted Titanium.
- End branches at a node with a turret. Every dead-end is a free build platform; use it.
- Route the trunk around the kill box, never through it. Enemies can walk a pipe, and a pipe through the kill box is a ramp into your base.
The trunk is also your fastest mining route. Grind out, mine, throw the load onto the pipe, grind back. Once you internalize that loop, your Titanium income roughly doubles compared with walking.
Network 3: the extraction line
The extraction line exists for one moment: the countdown. It is the network players skip, and the one that decides whether a good run becomes a great one.
Shape: one straight line from the collector toward open ground, preferably ending at a teleporter or a high ledge.
[collector] -- [node] -- [node] -- [node] --> open ground / teleporter
Rules:
- Straight, not scenic. Every bend costs seconds you do not have.
- Build it early, not at the countdown. A pipe built under fire is a pipe you die on.
- End it somewhere defensible. A teleporter, a cliff, or simply out of the spawn lane.
- Keep it clear of the kill box. The exit should not require crossing the fight.
Thirty seconds sounds generous until you are carrying a full load, a teammate is down, and the pipe ends in the wrong direction.
Do not branch the extraction line into a resource field "while you are there." It turns a clean escape route into a detour, and players follow pipes reflexively under pressure.
Node placement rules
Nodes are the real estate of the base. Place them by priority:
| Priority | Node location | What goes on it |
|---|---|---|
| 1 | Shortest approach to collector | Main kill-box turret |
| 2 | Flank of the kill box | Second turret, overlapping arc |
| 3 | Beside generator chain | Backup generator or repair station |
| 4 | Resource branch ends | Screen turret or mining support |
| 5 | Extraction line | Nothing — keep it clear |
A node with nothing on it is still useful: it is a movement waypoint and a repair access point. But a node inside the kill box with a structure on it is usually a mistake, because structures block fire.
Pipe routing under pressure
Mid-run, you will need to extend a network while enemies are already moving. Three habits keep that from becoming a death:
- Extend away from the wave, not toward it. Build the far end first, then connect back to the trunk.
- Build in one continuous ride. Start at the collector and drag outward; the segment placement is faster than hopping.
- Abandon a bad route. If a pipe is taking fire while you build, the route is wrong. Cut it and rebuild behind the kill box.
The Grav Beam helps here: you can throw a resource onto a partially built pipe and it will still travel once connected, so you do not need to carry every load by hand.
Pipe layouts by pack size
Solo: one short trunk to the nearest Titanium, one power spur, one exit line. Total pipe length under 100 meters.
Duo: one trunk, two branches, one power spine, one exit. The runner extends branches; the anchor never leaves the collector.
Full pack: one trunk, three branches, two power spurs, one exit, plus a shared loop around the kill box for fast rotation. The loop is the only place a pipe should pass near the fight, and it should pass behind the turrets.
Common pipe mistakes
- Pipe through the kill box. Creates a ramp and a blind spot.
- Daisy-chained generators. One break kills the grid.
- Resource trunk to a single rock. Wasted Titanium and wasted node.
- No exit line. The most common cause of a lost backpack.
- Rebuilding the same route after a wipe. The route was the problem.
If you only have Titanium for one more network after the power spine, build the exit. Resource branches pay for the next run; the exit saves this one.
FAQ
Can enemies use pipes? Yes. Enemies can path along them, which is why pipes should not cross your defensive line.
Do I need a pipe to every resource node? No. Branch to clusters, and only to clusters you will actually harvest this run.
Can I build turrets on pipe nodes? Yes. Every node is a build platform.
What is the best pipe length? As short as the job allows. Long pipes are long weak points.
Should the exit pipe connect to the teleporter? If one is nearby, yes. It turns the exit into a two-way route for revives.
Further reading
Summary
Short power spine, single resource trunk with turret-capped branches, straight exit line. Keep all three out of the kill box and build the exit before you feel you need it. The base building guide covers the layers these networks support; the turret placement guide covers what goes on the nodes.
More GRAVHOUNDS Guides
Build a GRAVHOUNDS base that survives escalating swarms: site selection, four defensive layers, power placement and layouts for solo to four players.
A first-shift walkthrough for GRAVHOUNDS: what to mine, where to build, how pipes pay for themselves, and when to call the ship.
A complete GRAVHOUNDS build for hard planets: rapid-fire crit weapon, turret support deck, Dozer mines and the exact 10-card Mod Deck.
The best GRAVHOUNDS character for solo, duo, four-player packs and boss runs, with the reasoning and the loadout each hound enables.
A practical GRAVHOUNDS Juggernaut guide: arena preparation, phase behavior, turret placement, team roles and the mistakes that wipe the base.
How GRAVHOUNDS builds work: the 10-card Mod Deck, Showstoppers, weapon choices and the stack rules that decide whether a run snowballs.